The making of a Vermeer
Here you can see all the stages that were followed to get to the fully glazed complete painting.
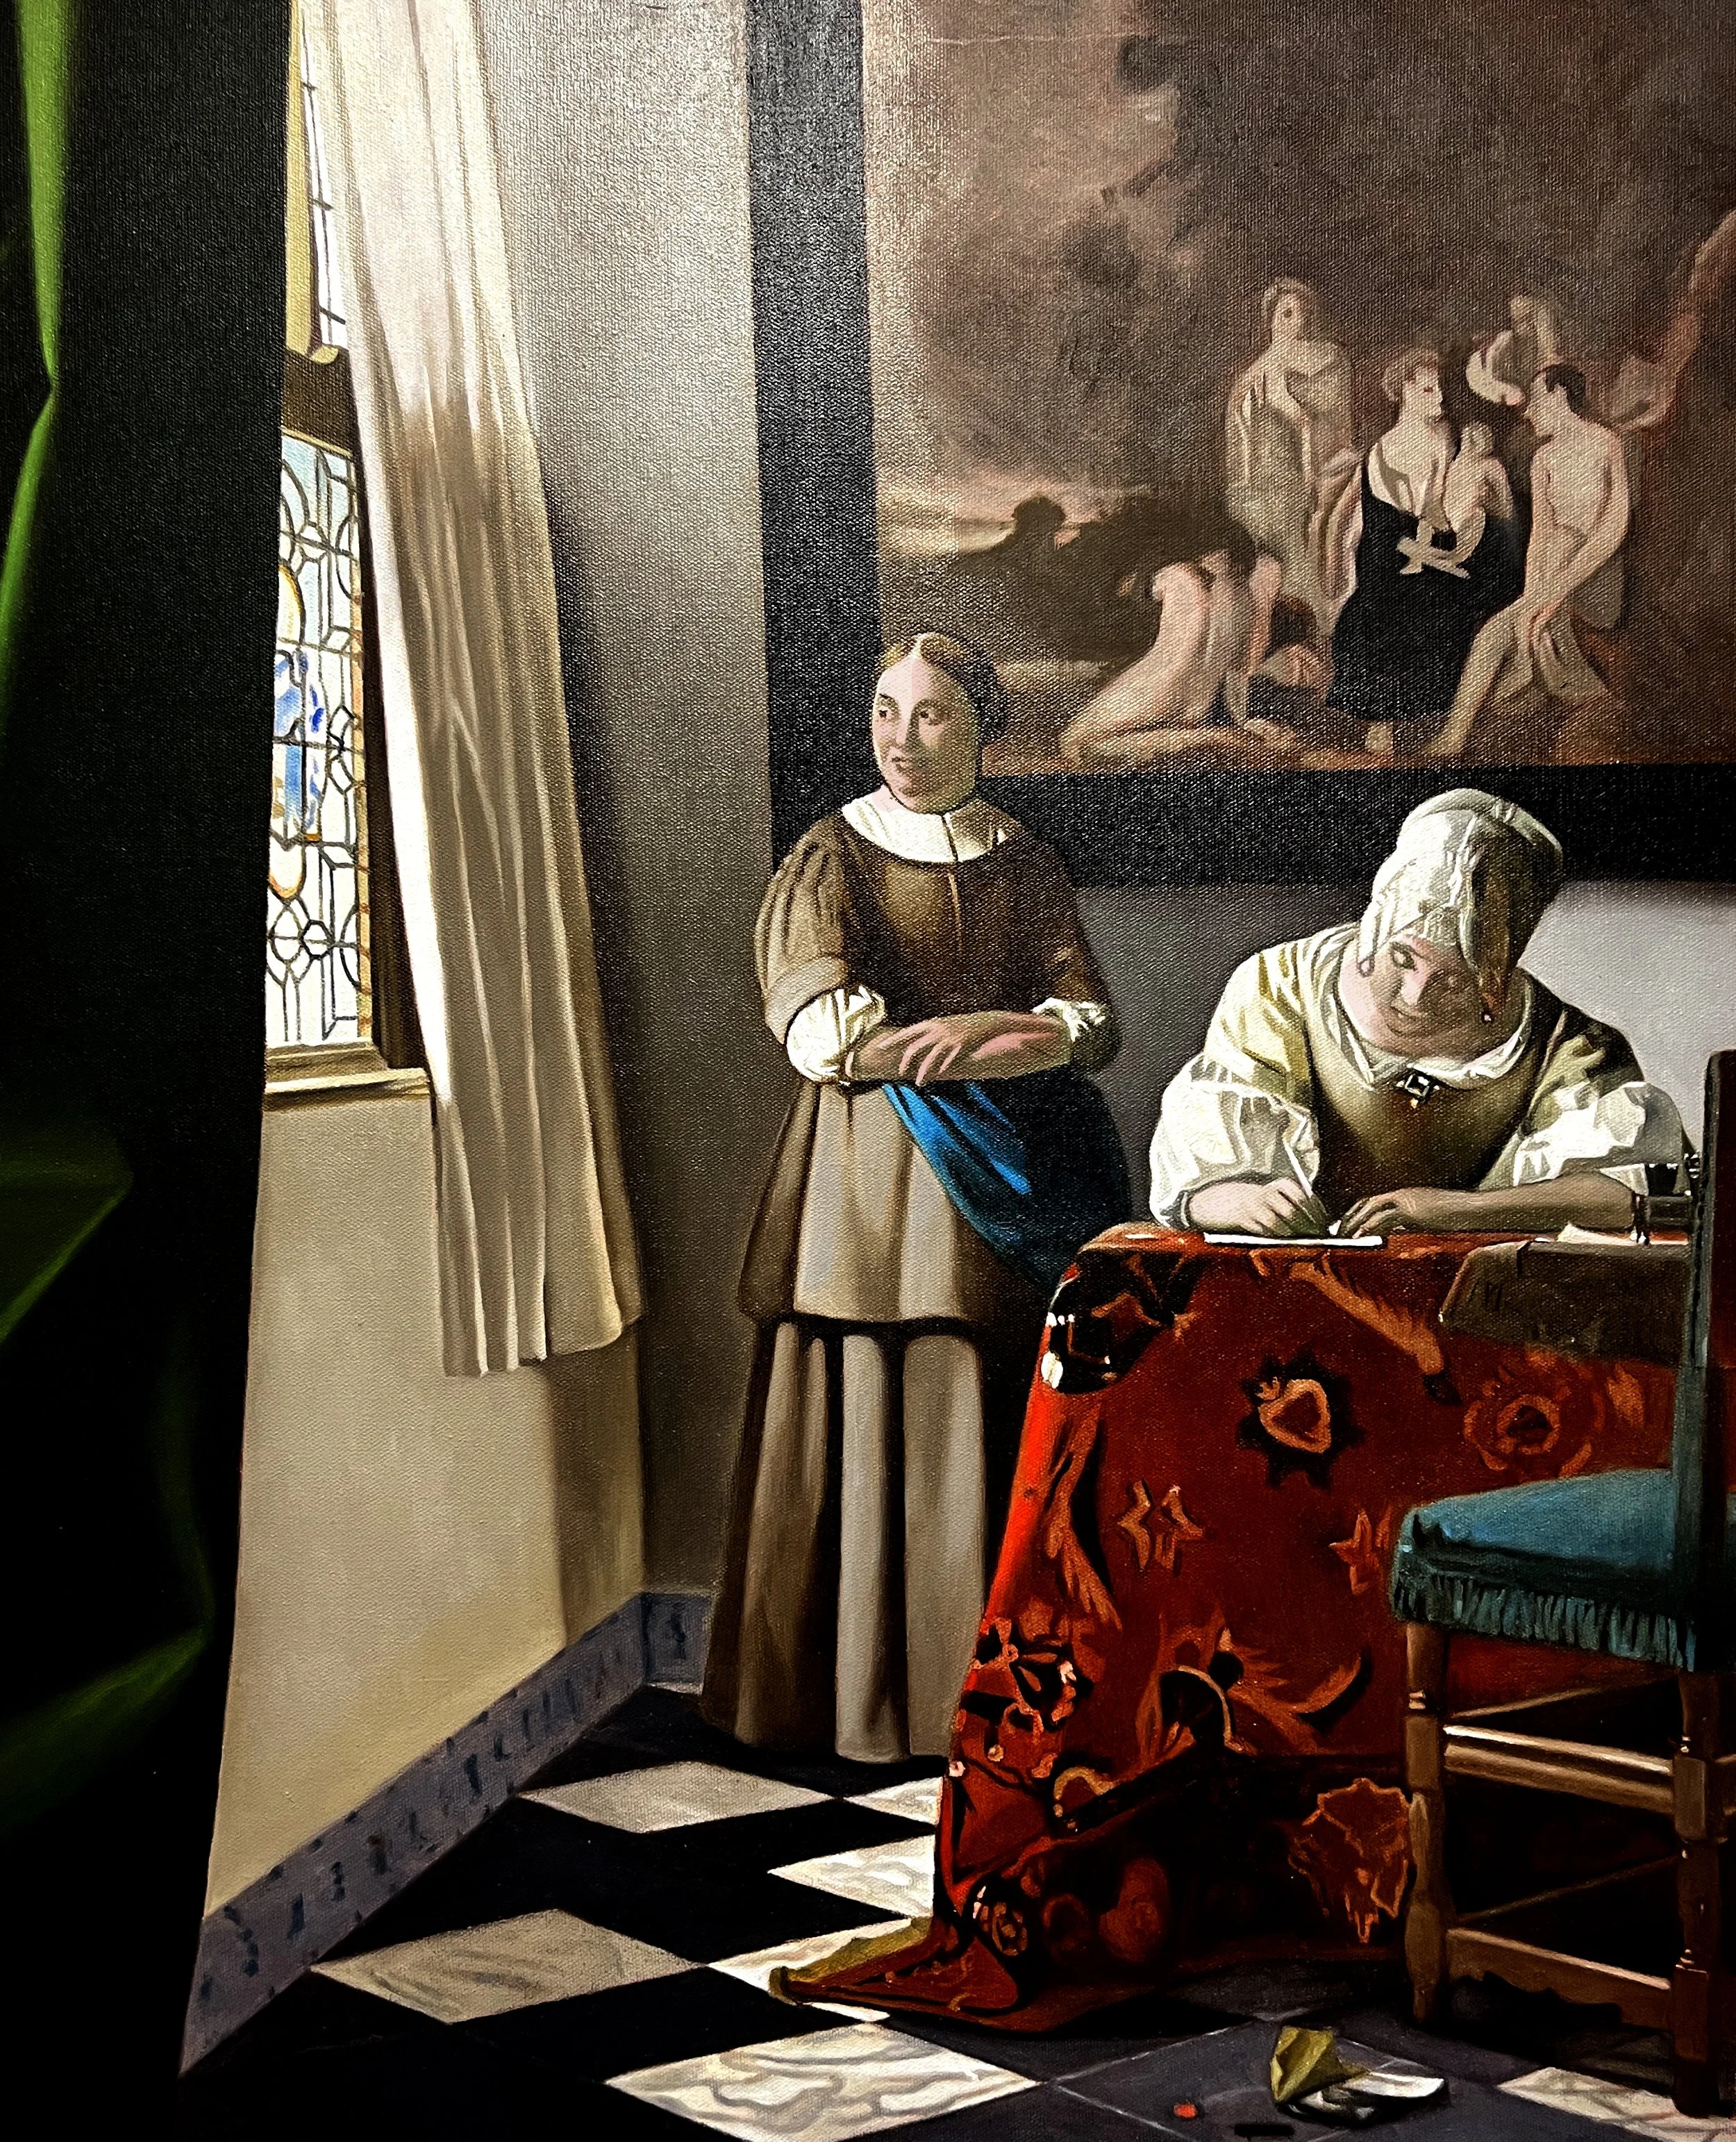
I used a projector to map out the drawing in the same way that Vermeer used a camera obscura to get his initial drawing on the canvas.


Once the monochrome is complete, then the colour glazing begins.
Glazing Technique
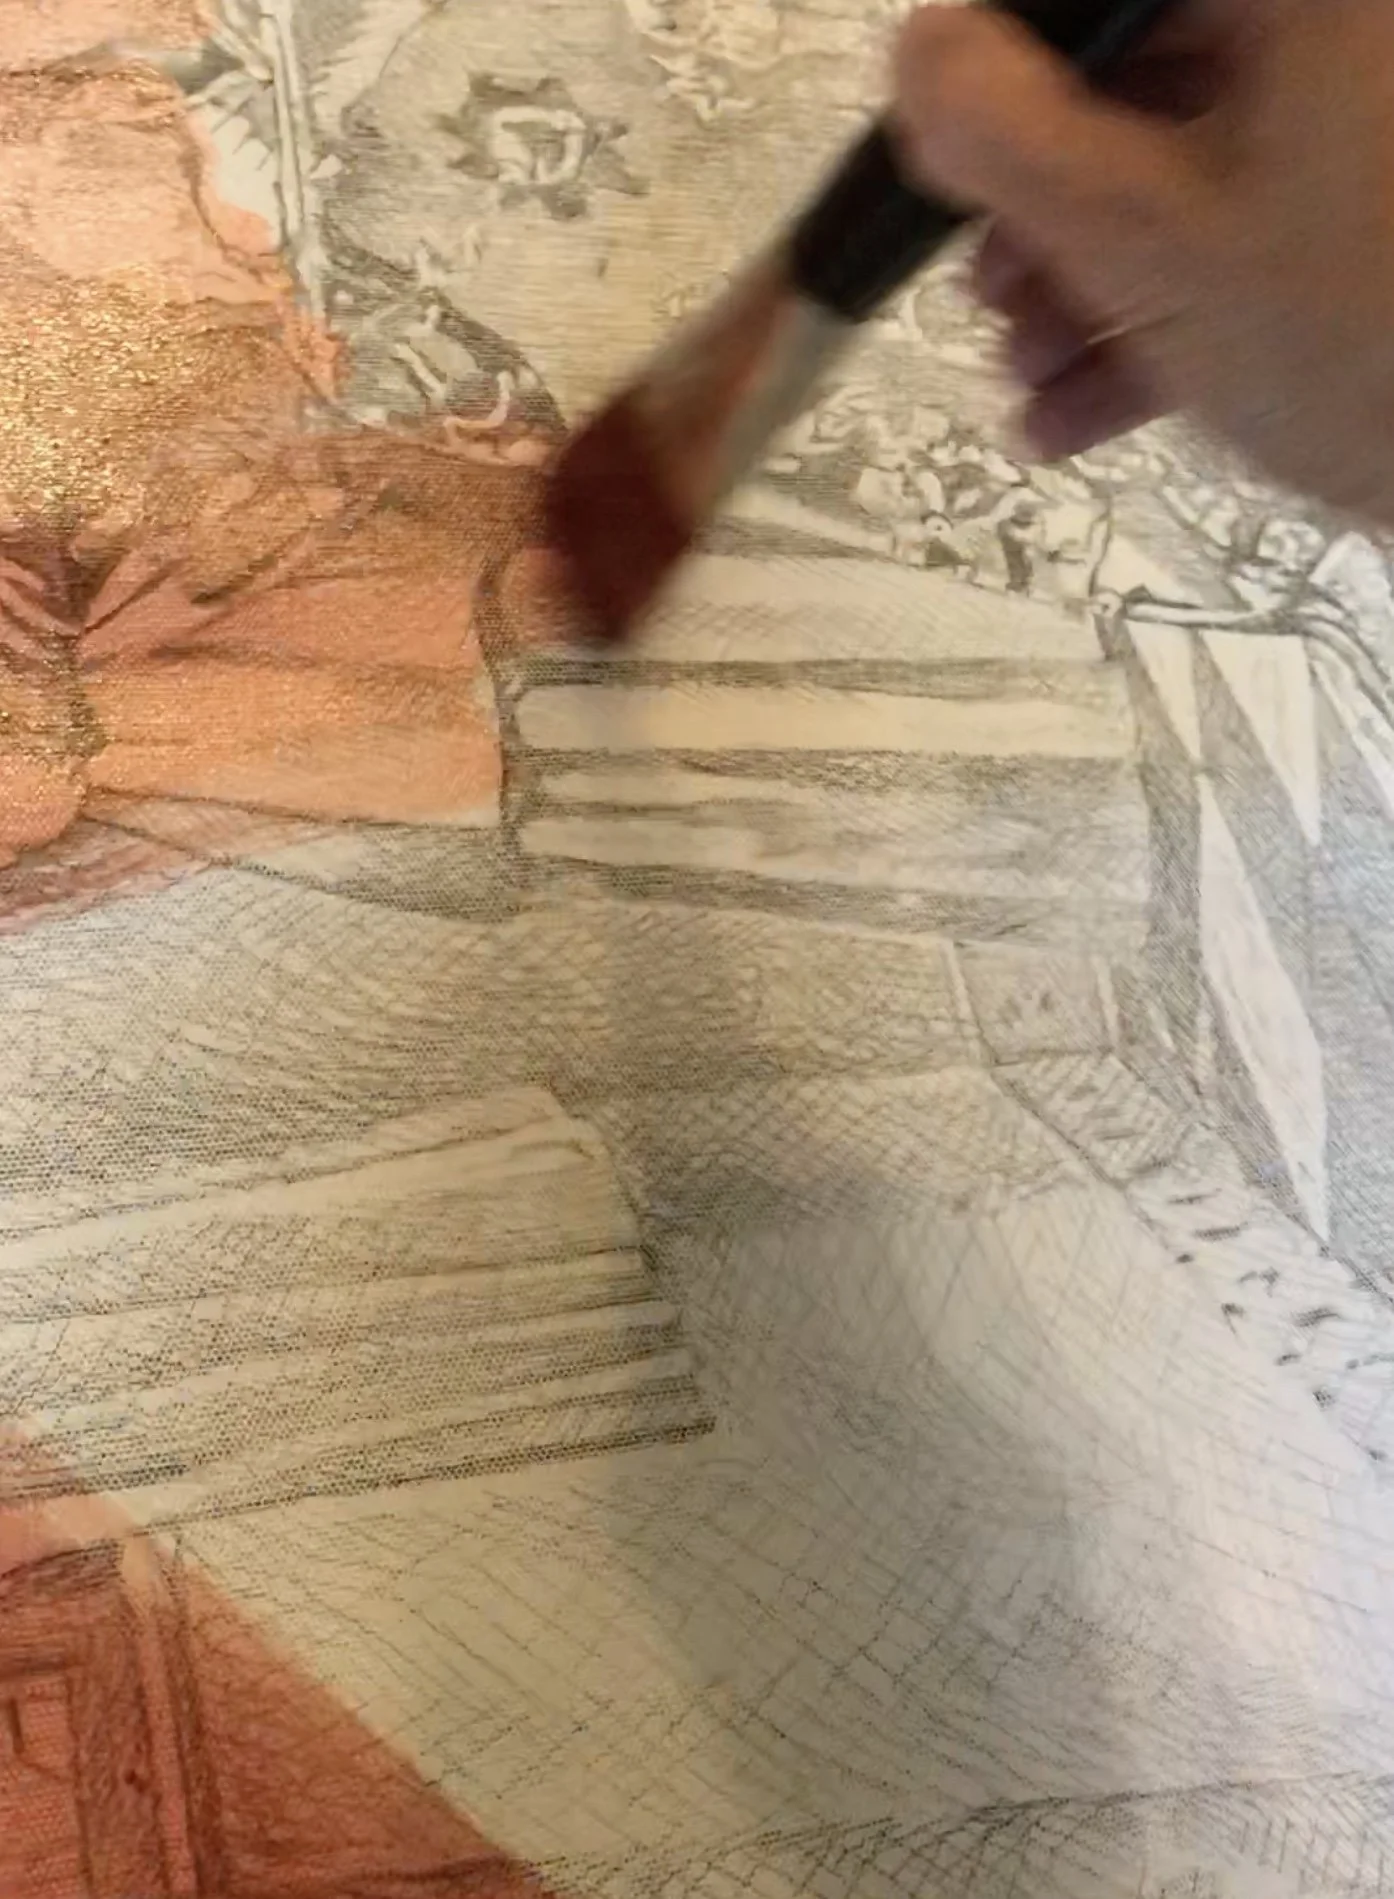
The local colours are identified and applied to each element of the painting. A medium of oils and varnish is first brushed on to help the glaze flow smoothly and to lock the pigment into a transparent layer. Each glaze is left to dry before the next is applied, building the surface gradually, layer by layer, and enriching the colour’s depth and luminosity.
In the flesh tones, an initial cool glaze of earth green establishes the under-hue before warmer tones are layered above. Shadows are deepened using complementary colours, pushing the forms into a convincing darkness. The successive glazes intensify the colour, while scumbling introduces light and atmosphere. The lights are continually refined throughout the process, with final highlights and small flecks of opaque paint bringing the image to life as the painting nears completion.